
.jpg?sw=930&sh=1139&sm=fit)
.jpg?sw=930&sh=1139&sm=fit)
.jpg?sw=930&sh=1139&sm=fit)
.jpg?sw=930&sh=1139&sm=fit)
.jpg?sw=930&sh=1139&sm=fit)

.jpg?sw=160)
.jpg?sw=160)
.jpg?sw=160)
.jpg?sw=160)
.jpg?sw=160)
-
Product Description
Product Description
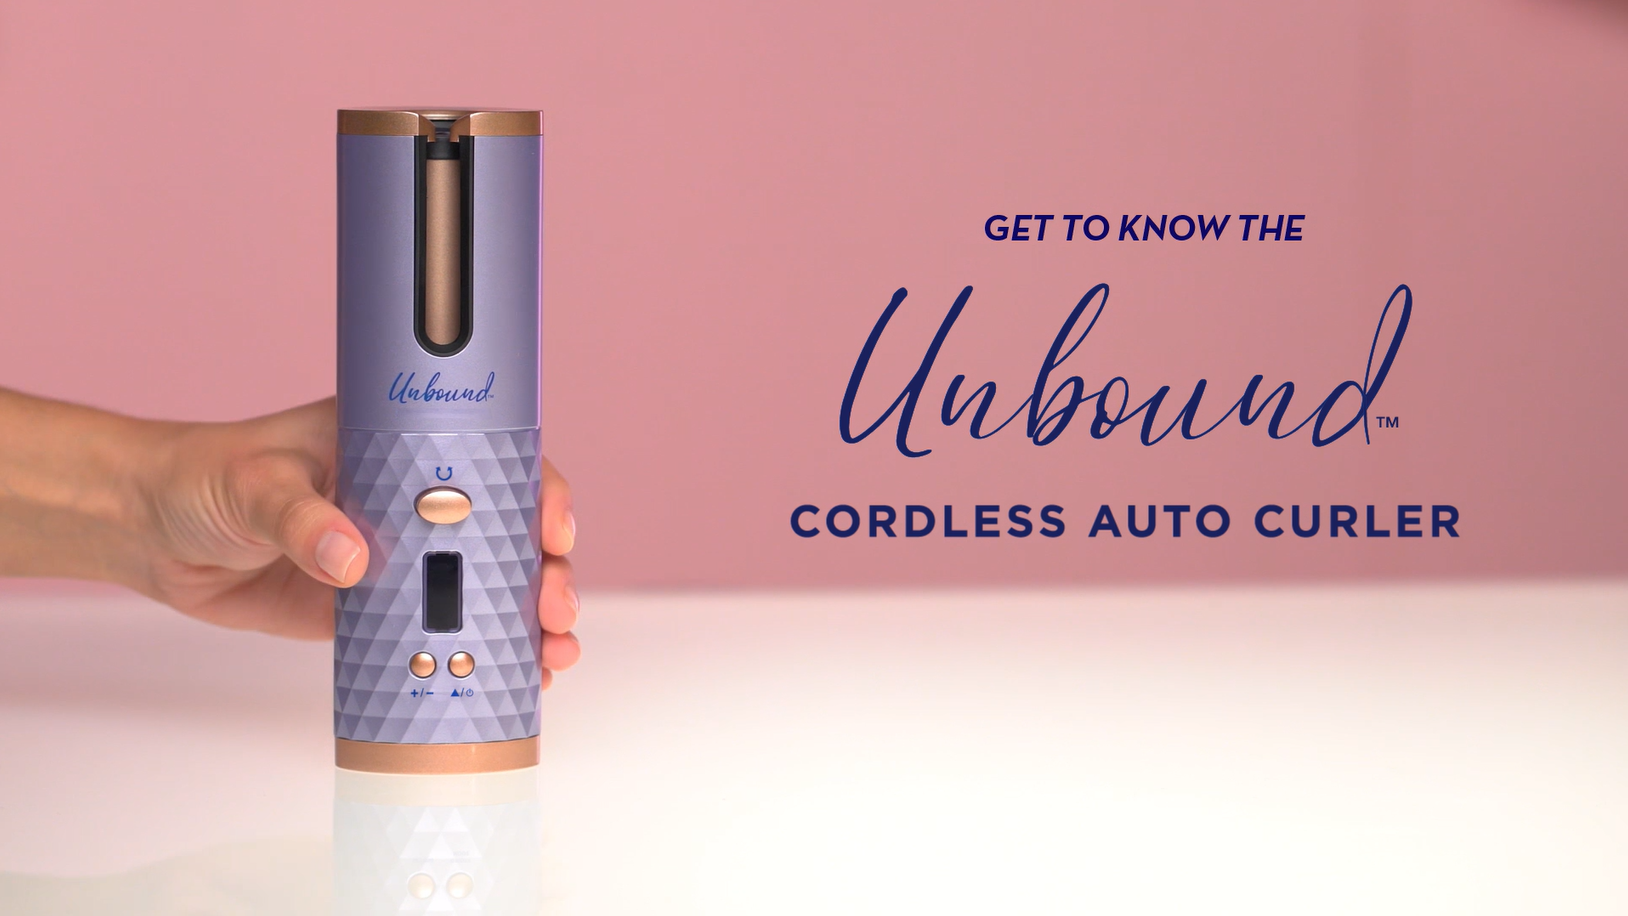
Discover the power & freedom of cordless hair styling. Curls without cords. Beauty without bounds. This smart styler takes the guess work out of creating perfect curls, anytime, anywhere*. Easy, fast, fabulous curls or waves in no time. Experience the freedom of creating luxurious curls & waves - from playful tight cascade curls to beachy waves & big spiral glam, without any cords to hold you back.
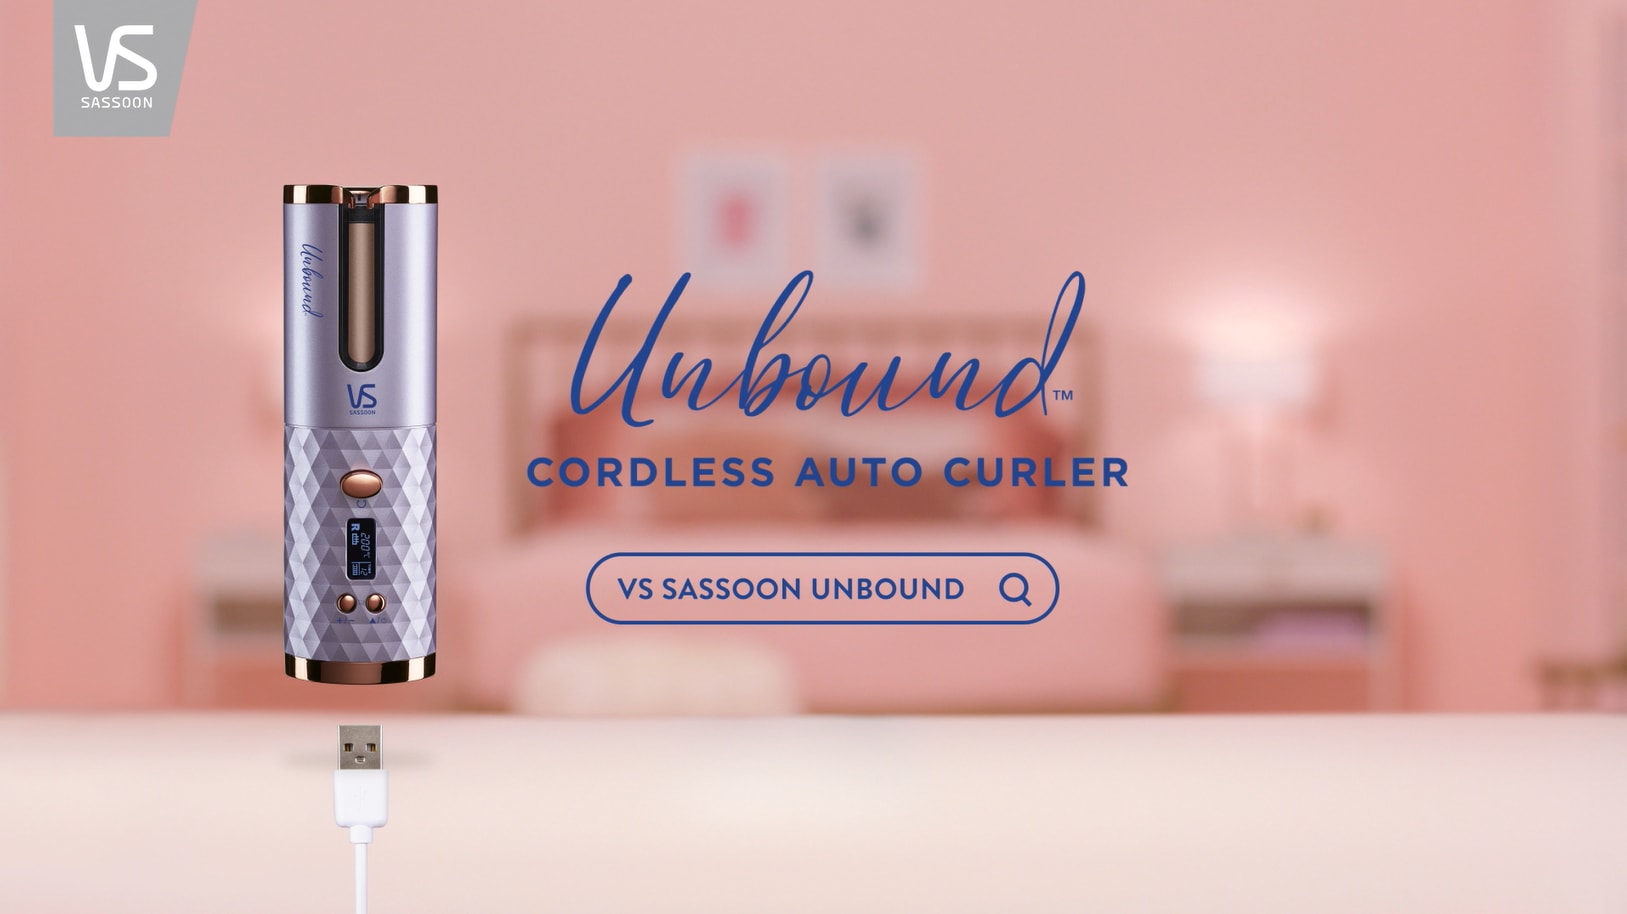
Unplug, live unbound & get the look you love, easily & effortlessly.with auto-curl technology, this rechargeable styler gives up to 45 minutes of cord-free styling** with amazing shine. Hair goes in, curl comes out – its that simple!
- Break free from cords - style cord-free at-home or on-the-go.
- Lithium-ion rechargeable - sustained power performance.
- Auto-curl technology - hair goes in, curl comes out.
- Beauty without bounds - live unbound & style anytime, anywhere* with up to 45min cord-free use**.
- Powered by lithium -ion batteries for sustained styling performance. Conveniently recharges via usb.
- Style like a pro - automatic curling system gently draws in the hair for the fastest, easiest & most perfect curls or waves.
- Smart styling for smart women - lcd control to choose your curl style from tight curls to luxurious waves, even change the curl direction to suit your style.
- Lock in your time to shine - even heat ceramic technology with smooth glide curl chamber for a perfect finish. Locks in shine as you style.
- limited edition travel case - unbound™ travel storage case with heat protective lining protects the styler wherever you are.
Technical Specifications
- up to 45min cord-free use**
- 4.5hr full charge
- powered by li-ion rechargeable batteries
- usb charging • fast heat-up
- auto-curl technology
- 3 heat settings (160°c, 180°c, 200°c)
- 4 heat times
- 3 curl directions
- lcd control
- ceramic technology
- anti-tangle protection
- safety auto-shut off
- lightweight 385g
- usb charging cable & adaptor supplied
The unbound auto curler is a new type of styling tool & works differently to any other curling stylers you may have used in the past. It is essential you read these instructions before use.
Step 1 - prepare to charge: plug the usb charging cable into the micro usb input on the curler, then plug the other end of the usb charging cable into the adaptor. Connect to a power outlet.
Step 2 - charge it up: the lcd display battery indicator level will flash when the appliance is charging. The appliance is fully charged when all 4 bars are displayed & the battery indicator has stopped flashing.
Step 3 - switch it on: press & hold the on/off button for 2 seconds. You will hear a beep & the lcd display will turn on. Press the on/off button again to scroll between heat setting, curl direction & heat time. Press the +/- button to select an option for each.
Step 4 - understanding the lcd control & choosing your desired settings: heat settings - select from 160°c, 180°c or 200°c. Heat times - select from 6, 8, 10 or 12 seconds. Use: 6 or 8 seconds - to create natural loose waves, 8 or 10 seconds - to create classic medium curls, 10 or 12 seconds - to create tight cascade curls. Curl direction - for curls that curl away from your face: for styling the left side of your head, use “r”, for styling the right side of your head, use “l”, select “mix” for alternate curls this will give a natural look.
Ensure your hair is clean, completely dry and free from hairspray. Hairspray may cause the hair to heat up to astronomical temperatures and stick like glue, in-turn creating diffculty to remove hair from the styler.
1. Important - you must section your hair and comb through until its completely tangle-free before use. The secret to nailing your look is to create 3 larger sections. This will ensure your style always looks consistent.
A) use a comb or fingers and create the top section, from temple to temple and clip away on top of the head with a sectioning clip.
B) create the middle section from ear to ear and clip away with a sectioning clip.
C) the hair left down is your bottom section.
D) always start with the bottom section first and once completely styled as desired, unclip the middle section, style and then unclip the top section. When using the unbound cordless auto curler you will need to divide the hair into smaller sections.Always ensure that you place the entire smooth section of hair into the curl chamber. Ensure all of the hair section sits inside the opening of the curl chamber - there should be no stray hairs.
2. Switch it on - switch on the styler & choose your desired settings.
3. Wait for the beep - heating symbol will blink when it is heating, when required temperature has been reached the unit will stop blinking & 2 beeps will sound.
4. Hair we go - always ensure that the hair section is combed through, completely tangle-free and there are no stray hairs within the section. Before you start curling, ensure the hair section is the correct size. Take a section of hair 1.5cm to 2.5cm, depending on your hair length. For longer hair, take smaller sections and start curling from the mid-lengths to ends of the hair section. With the opening of the curl chamber facing up and away from your head, place the entire smooth section of hair into the curl chamber at the top of the section (fig. 6), or wherever you’d like the curl to start. Always ensure that you place the entire smooth section of hair into the curl chamber. Ensure all of the hair section sits inside the opening of the curl chamber - there should be no stray hairs.
5. Ready to roll - press and continuously hold the rotation button to draw the hair section into the curl chamber, making sure 100% of the hair section enters the curl chamber at the same time, do not remove your finger from the button. Important - your hair may become tangled if these instructions are not followed or if any hair is held loosely and falls away without 100% of it entering the curl chamber at the same time.
Mix setting = alternate curls warning! If you take your finger off the rotation button whilst hair is curling and then re press the rotation button while your hair is still in the curler, the curler will start spinning the other way because it now thinks it is creating a new curl... This will create a tangle in your hair. If you take your finger off the button accidentally during curling remove the styler from hair immediately.6. Listen to the beeps - continue to hold the rotation button while you hear a succession of slow beeps corresponding to the timer setting you’ve selected. Note: the number of beeps matches your timer setting selected. For example, there
Will be 8 beeps if your setting is for 8 seconds. Then when you hear 2 rapid ‘beeps’, release the rotation button, remove the curler down slowly to reveal the perfect curl. Allow the curl to completely cool down so the curl can set, if you pull the curler away, the curl/wave will loosen/drop and the curl will not last. Do not pull on the curler to free the hair.
Important - once the curler starts curling do not remove your finger or stop pressing the rotation button, listen carefully to the required succession of slow beeps, when you hear the 2 fast beeps you can remove the curler."Important safety instructions/warnings
- do not use any electrical styling appliance in or near bathtubs, showers, basins or other vessels containing water - keep the appliance dry.
- it is suggested to recharge this appliance with the usb charging cable supplied. If using another charging cable, please use one that can be charged with a charging current of 2a or more.
- when preparing the appliance for charging, be sure the micro usb input is plugged into the appliance before plugging the usb charging cord into the charging adaptor and power outlet.
- when the appliance is charging, do not leave it unattended. Be sure to remove the charging adaptor from the power supply when the appliance is fully charged.
- do not operate this appliance or disconnect the usb charging cable from the power supply with wet hands.
- do not wrap the usb charging cable tightly around the appliance when storing. This causes undue strain on the charging cable & protective guard. Over time, this will damage the charging cable resulting in an unsafe condition to the user.
- if the usb charging cable is damaged, use another charging cable with a charging current of 2a or more.
- this appliance contains batteries that are non-replaceable.
- avoid charging the battery at temperatures below 5°c or above 40°c.
- avoid charging the battery in direct sunlight or near a radiating heat source.
Battery disposal:
- this appliance contains lithium ion (li-ion) rechargeable batteries that must be removed before discarding the appliance.
- • to protect the environment, the appliance must be disposed of safely at the end of its useful life.
- • please take the appliance to a recycling centre, where the internal rechargeable battery should be removed by a professional and recycled separately.
- • for more information about the recycling of electrical and battery operated appliances, please contact your local council office or your household waste disposal service.
Warning: batteries cannot be replaced. Do not attempt to take the appliance apart
*contains 2 rechargeable lithium-ion batteries. Airline restrictions may apply. Please check directly with the airline carrier before you travel.
**in-use time will vary depending on the heat and timer settings selected, as well as hair type. -
Product Reviews
-
Question & Answer
Unbound Cordless Auto Curler


